Growing your own food is extremely rewarding! In this blog we take look at the basics of germinating seeds.
Germinating your favourite plants from seed is a great way to start a garden, it does require a little patience as some seeds can take much longer than others to germinate so, it is always a good idea to do a bit of recon beforehand so you know some basic facts about the variety of plants you’re about to grow.
Tip: Temperature and Humidity is probably the biggest factor you need to pay attention too.
What Equipment Do I Need To Get Going?
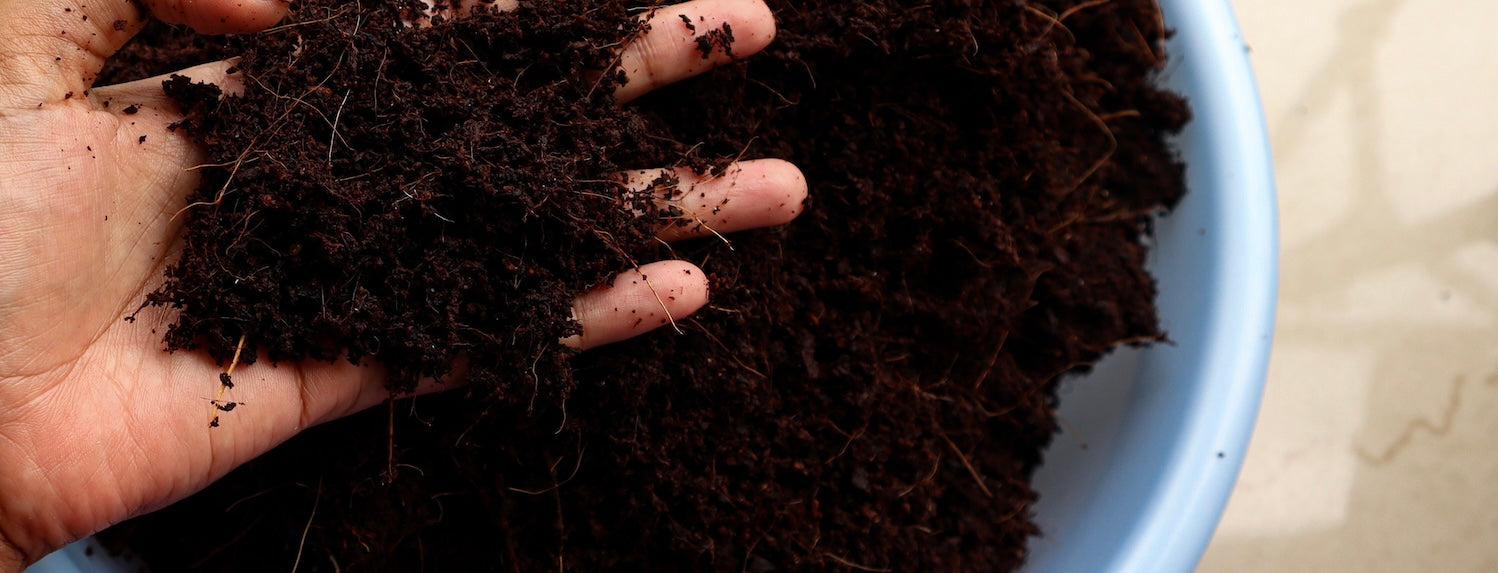
- Grow cubes (Rockwool cubes) or Growing Medium (Coco or Soil)
- A Good quality Rooting tonic
- Mixing Jug 1L- 5L
- Propagation Dome / Humidity Crib
- Hygrometer (Optional but advised)
-
Heat Mat & Thermostat (Optional but advised)
Below Is A Step By Step Process For Germinating Most Seeds
- Pre-soak your grow cubes or sponges in a root tonic. We use in a mix of Ryzofuel(0.75ml) or Regen-a-root (1ml) per 1L of water.
- Prepare Propagation kit (base and lid).
- Connect Heat Mat underneath Propagation Kit. (If you have a Thermostat controller connect this to heat mat after and place probe inside propagation Dome)
- Remove cubes/sponges from solution and give a gentle squeeze so the cubes are not saturated but are still holding a substantial amount of solution.
- Place your seeds “pointy” end facing down and push in so the husk of the seed is about 1-2mm under the hole surface level.
- Close all the vents to achieve 100% Humidity, after they have the seeds spring to life open the vents on the Dome this will lower humidity to 72-75%
- Most seeds will germinate around 18-22°C - Chilli for example require the temperature range 26-28°C before they ‘pop’ so always check beforehand.
- Put a Hygrometer inside your propagation room this device measures the Temperature & Humidity which will allow you to calculate your VPD
Don’t Be In A Hurry, Take Your Time.
- Most of the time the seeds will pop open around day 2-5.
- Once the seed has germinated the first 2 sets of leaves will be round. These are called cotyledons, the first set of true leaves will be the following pair.
- Some gardeners prefer to leave the seedlings in the propagation dome until the 3rdor 4th set of true leaves appear. This is a matter of preference; just don’t be in a hurry the seedling stage can be a slow one.
- For the first few days after transplanting, top feed your plant food mix to ensure the seedling is receiving adequate amounts of food most brands will indicate a seedling stage for feeding.
What is a Good Plant Food to feed my Seedlings?
Lots of opinions on this topic, at A-Grade Hydroponics we actually test every hydroponic nutrient before putting it on the shelves and most brands don’t make it, the ones that do are excellent Nutrients here’s a few brands we recommend for flawless outcomes. Click the link on each brand to learn more.
Byron Bay Gold Nutrients
Cyco Nutrients
Mills Nutrients
Plagron Nutrients
For any questions regarding plant feeding, propagation or germination, leave a comment below :)