

A good hydroponics starter kit for beginners bundles a matched tent, light, airflow and growing system, so you can grow leafy greens, herbs or even strawberries indoors without guessing which parts work together.
This guide covers why a kit beats buying parts separately, what to look for, the core components you can't skip, how to set up your first grow step by step, common beginner mistakes and why growers choose A-Grade. If you'd like a head start, browse our hydroponics starter kits for beginners, or call or visit us for tailored advice.
Why choose a hydroponics starter kit?
Between the different systems, nutrients and lights, it's no wonder first-time growers feel overwhelmed. A starter kit takes most of those decisions off your plate:
- Tent, light, ventilation and growing system arrive together
- Matched components, so no compatibility issues
- Easier troubleshooting when you know exactly what's in your setup
What to look for in a beginner hydroponics kit
Easy to set up
As a beginner, your focus should be on learning how plants behave in a hydroponic system, not wrestling with pipes, fittings and wiring. Choose plug-and-play components with clear instructions.
Compact and indoor-friendly
Unless you're dedicating a whole room to growing (which we don't recommend at the start), choose a system sized for a benchtop or small grow tent. A smaller footprint is easier to manage while you learn.
Suited to fast-growing plants
A beginner-friendly system should let you try fast growers like basil, lettuce and pak choi. They give you quick wins while you learn nutrient and lighting routines. Our guide to growing hydroponic basil is a good first project.
Room to expand
Kits that accept add-ons, such as extra pots or upgraded lighting, grow with you, so you won't start from scratch when you scale up.
⚙️ Core components you can't skip
Plants thrive when light, fresh air and stable temperatures work together. Check any kit covers these essentials:
- Grow tent: a reflective interior keeps light on the plants and lets you control the environment
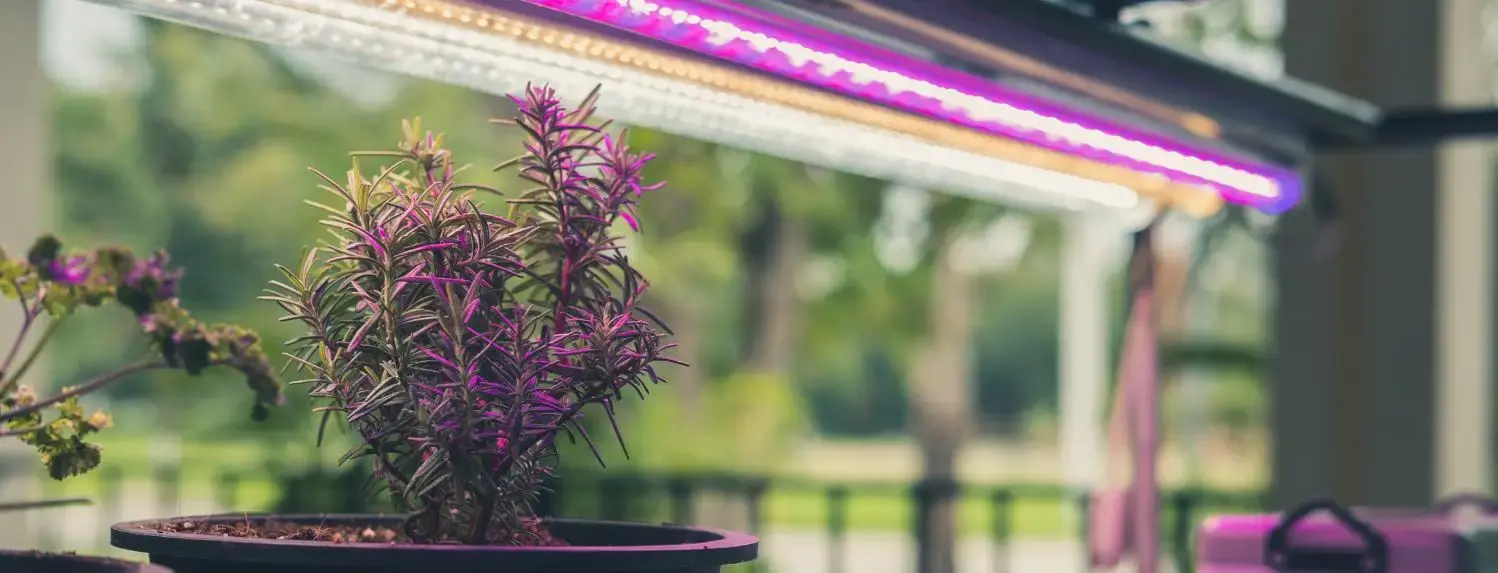
- LED grow light: sized to cover the tent footprint, ideally with a dimmer
- Extraction fan and carbon filter: remove hot, humid air and control odour
- Clip fan: keeps air moving across the plants
- Growing system and medium: such as coco coir or a water-based system
- Timer, thermometer/hygrometer and pH control: so you can automate lighting and keep conditions on target
When comparing lights, look for the PPF (photosynthetic photon flux) value, measured in µmol/s. PPF is the plant-usable light a fixture produces each second, so higher means more light for the same footprint.
For the growing system, most newcomers choose either inert coco coir fed with mineral nutrients or a water-based system like Deep Water Culture (DWC). Coco feels familiar to soil growers, while DWC suspends roots in oxygenated nutrient solution for rapid growth once you're comfortable checking pH.
💡 A-Grade Tip: Size your extraction to your tent. Multiply length x width x height to get the tent volume (a 0.8 x 0.8 x 1.8m tent is 0.8 x 0.8 x 1.8 = 1.15m³), then check your fan and filter are rated well above it.
How to set up your first hydroponic grow, step by step
1. Start seeds or cuttings in a propagator
Nothing ruins a first grow faster than damping-off seedlings or wilted cuttings. A heated propagator creates the warm, humid microclimate young plants need.
Our Propagation Pack includes a medium Stewart propagator, a small Cultiv8 heat mat, 24 Grodan 40/40 grow cubes, a 250mL bottle of CYCO Ryzofuel, a pipette, a 1L measuring jug and a free seed germination tutorial. For the full method, follow our guide on how to germinate seeds.
2. Set up your tent, light and airflow
Next, seedlings graduate to the tent. The A-Grade Apprentice V2 is a complete beginner grow room built around a HOMEbox Ambient Q80+ tent (0.8 x 0.8 x 1.8m) with a PAR+ reflective interior.
It pairs a 300W Treegers GL300W LED (825 µmol/s PPF) and dimmer with a Can-Fan RK 100LS extraction fan, a CAN-Lite 300 carbon filter, 100mm ducting, a Breezin clip fan, a digital timer and a thermometer/hygrometer. The carbon filter is rated for 300m³/h of airflow, which is about 260 times the tent's 1.15m³ volume every hour (300 ÷ 1.15 = 260).
3. Fill your DWC system
The Apprentice V2 grows hydroponically with a NutSystems Oxypot Single, a 19L deep water culture system with a 140mm mesh pot, air pump and air stone. The air stone keeps the solution oxygenated so roots can breathe.
Fill the mesh pot with the included Hy-Gen EuroClay pebbles and set your plant in place. The Oxypot suits one large plant, such as a vine or a big herb like basil or chilli.
4. Mix your nutrients
A two-part base nutrient keeps feeding simple. The CYCO Grow Pack includes 1L each of CYCO Grow A, Grow B and Ryzofuel. Grow A and B combine to a 4-2-6 NPK with calcium and magnesium for the vegetative (leafy growth) stage, while Ryzofuel is a kelp additive that supports new root growth.
Fill your tank with water, then add each product separately and stir well between each one:
- 3mL of Grow A per litre
- 3mL of Grow B per litre
- 0.5mL of Ryzofuel per litre
Choose the 1L pack for a single run, or the 5L pack for multiple grows.
5. Check and adjust pH
After mixing, check your solution and adjust the pH to 5.5–5.8. The Apprentice V2 includes a Hy-Gen pH Complete Control Kit with 150mL each of pH Up and pH Down.
6. Start low and build light intensity
The dimmer adjusts the LED from 10% to 100% in 10% steps. Run young plants low and increase it as the canopy fills in.
💡 A-Grade Tip: Keep a simple grow diary. Note your pH, dimmer setting and anything you change each day, so you can see what's working and repeat it next run.
⚠️ Common beginner mistakes and fixes
| Mistake | What happens | Status | Fix |
|---|---|---|---|
| Buying parts that don't match | Undersized fans, lights that don't cover the tent or fittings that don't connect | Common | Start with a matched kit, or bring your tent size in for advice |
| Skipping a propagator | Seedlings damp off or cuttings wilt before they root | Common | Use a heated propagator with a humidity dome |
| Never checking pH | Plants can't take up nutrients properly | Common | Test after every mix and adjust to 5.5–5.8 |
| Running the light at full power on young plants | Stressed, slow-growing seedlings | Occasional | Start low on the dimmer and increase as plants grow |
Why buy from A-Grade Hydroponics?
We test, troubleshoot and use our gear ourselves: if we don't use it, we don't stock it. Every product on our shelves has been handpicked by growers who understand what beginners need to succeed.
With 13+ years in hydroponics, our team offers horticultural support from seed to harvest.
Summary
A simple, matched hydroponics starter kit backed by expert support gets you off to a strong start. Raise seedlings in a propagator, feed at the right rate, keep pH at 5.5–5.8 and build light as plants grow.
Browse A-Grade Hydroponics' hydroponic grow packages to get set up, or get in touch with the team if you've got questions about your own setup.