

Germinating seeds yourself, instead of buying pre-started seedlings, cuts propagation costs and gives you full control over genetics from day one. It also lets you time each grow precisely rather than waiting on nursery stock. Reliable germination comes down to four variables: moisture, oxygen, temperature and, for some varieties, humidity control. This guide covers the A-Grade method for germinating seeds in grow cubes, from pre-soaking through to transplanting, plus what to do if a seed hasn't sprouted within a week.
🌱 Why germinate seeds yourself
Buying seedlings from a nursery is convenient, but it hands genetic and timing control to someone else. Germinating your own seeds means you choose the exact variety, control the growing medium from day one, and avoid the transplant shock that comes with moving an already-established seedling into a hydroponic system.
It's also significantly cheaper per plant, since a packet of seeds costs a fraction of the equivalent number of nursery seedlings.
💧 Step-by-step seed germination process
Pre-soak your media
Soak your preferred propagation media (rockwool cubes or peat sponges) in a weak nutrient solution before use. A weak A/B mix, or a root stimulant such as Ryzofuel or Start-R, hydrates the cube and gives the emerging root system something to work with immediately. Once soaked, remove the cubes and give them a gentle squeeze so they're moist but not saturated — waterlogged cubes starve the seed of oxygen.
Sow the seed correctly
Place the seed with the pointed end facing down, pushing it in gently so the husk sits 1–2mm below the surface of the hole. Planting too deep delays emergence, since the seed's stored energy has to stretch further before it reaches light.
Set up the propagation dome
Fit the humidity dome onto the propagation tray and close the vents to hold humidity near saturation for most varieties. Some species germinate readily with the vents left open at around 72% relative humidity — check seed packet guidance where available.
| Growth stage | Vent setting | Status | Notes |
|---|---|---|---|
| Pre-germination | Closed (most varieties) | High humidity | Keeps the grow cube from drying out before the taproot emerges |
| Cotyledon (first round leaves) | Closed | High humidity maintained | Seedling is still fragile and drawing on stored seed energy |
| First true leaf set | Open | Hardening off, ~72% RH | Weak seedlings will collapse here; healthy ones stand upright |
📏 Getting temperature and humidity right
Temperature is one of the biggest drivers of germination speed. Most seeds readily germinate at temperatures between 18°C and 24°C. Outside these ranges, seeds can still germinate but take considerably longer, and germination rates drop off sharply at the extremes.
High humidity around the seed is just as important as temperature, since it keeps the grow cube from drying out while the seed absorbs water — a process called imbibition.
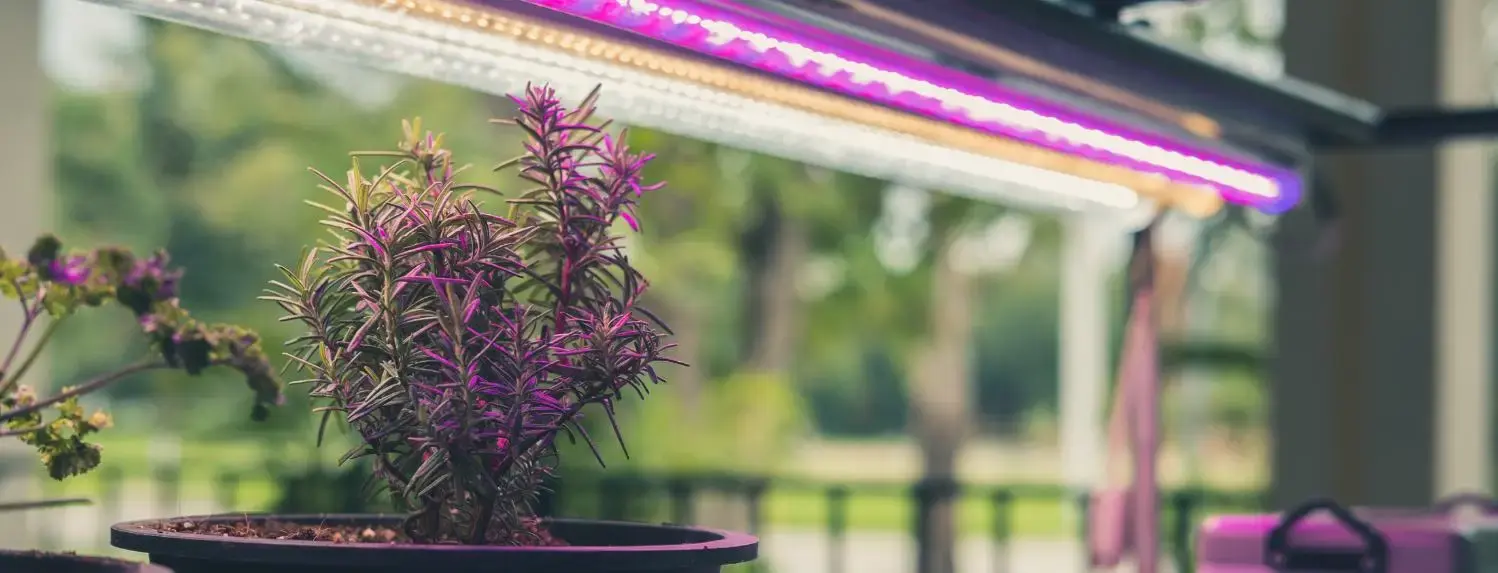
💡 A-Grade Tip: Position a T5 propagation light above the dome from day one, even though light isn't required for germination itself. Once the seedling emerges, it comes up stout and strong rather than stretching (etiolating) as it searches for light, which preserves cellular integrity in the stem.
⚠️ Troubleshooting slow or failed germination
Most seeds soften and germinate within 7 days under the right conditions. If nothing has happened by day 7, mist the cubes with a light solution of water and Humiboosta at 0.5ml per litre to encourage activity, then keep monitoring for another few days before assuming the seed has failed.
Once the seed germinates, the first two leaves to appear are rounded cotyledons — these are seed leaves, not true leaves. The serrated leaves that follow are the plant's first true leaf set.
💡 A-Grade Tip: If germination consistently stalls past 10 days across a batch, check grow cube moisture first. Cubes that have dried out mid-week are the most common cause of failed germination in a home propagation tray.
🌿 Hardening off and transplanting
Once the first true leaf set appears, open the dome vents to reduce humidity to around 72%. This hardening-off phase exposes any weak seedlings — they'll fall over — while healthy ones stand tall.
Some growers leave seedlings in the dome until the third or fourth true leaf set before transplanting. A tighter approach is to transplant as soon as a taproot is visible emerging from the base of the grow cube, moving it directly into a 100mm pot with coco coir. This avoids the growth check that can come from leaving roots confined in a small cube for too long.
Summary
Consistent germination comes down to getting moisture, oxygen, temperature and humidity right at each stage, then adjusting based on what the seedling shows you. Browse A-Grade Hydroponics' propagators and humidity domes or seed and clone care range to put this process into practice, and get in touch if you'd like a hand choosing the right propagation kit for your setup.